Valentines Treats Mini Lemon Tarts
Highlighted under: Oven Ideas
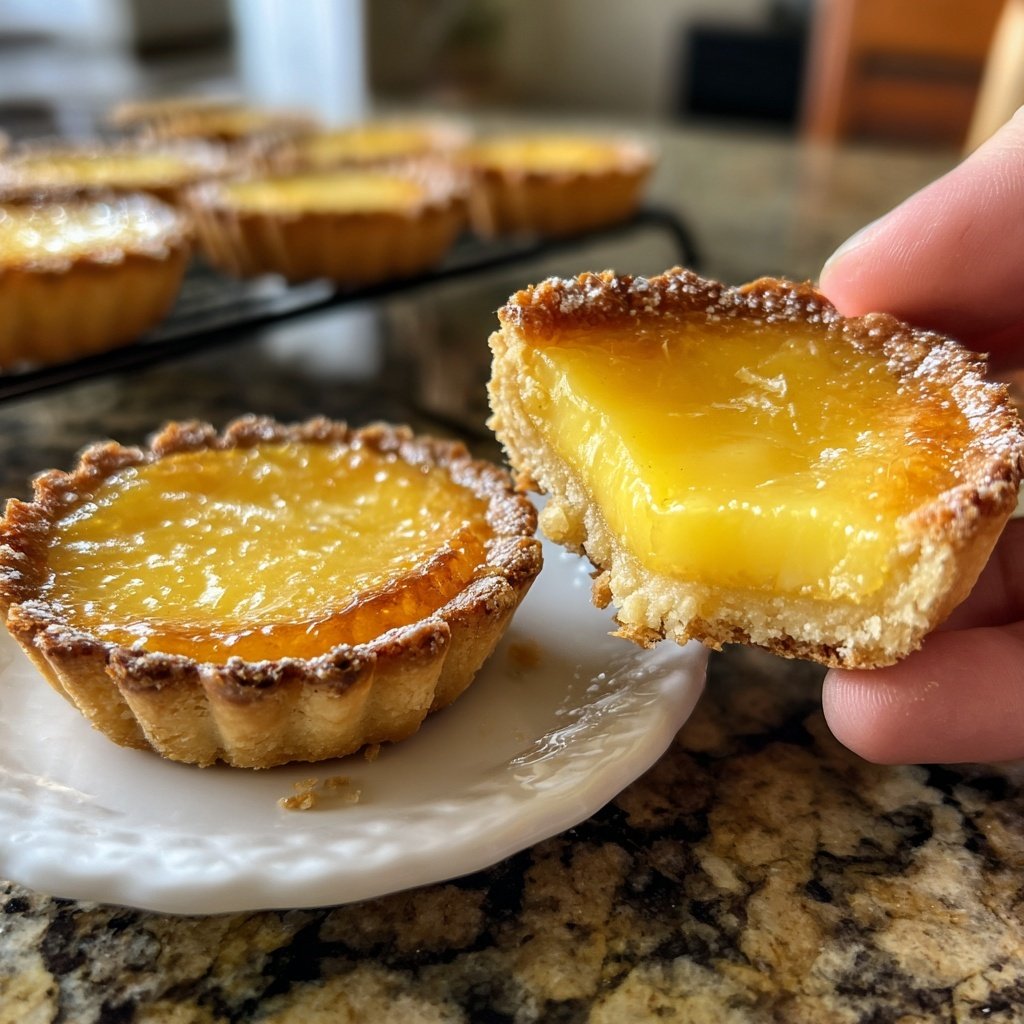
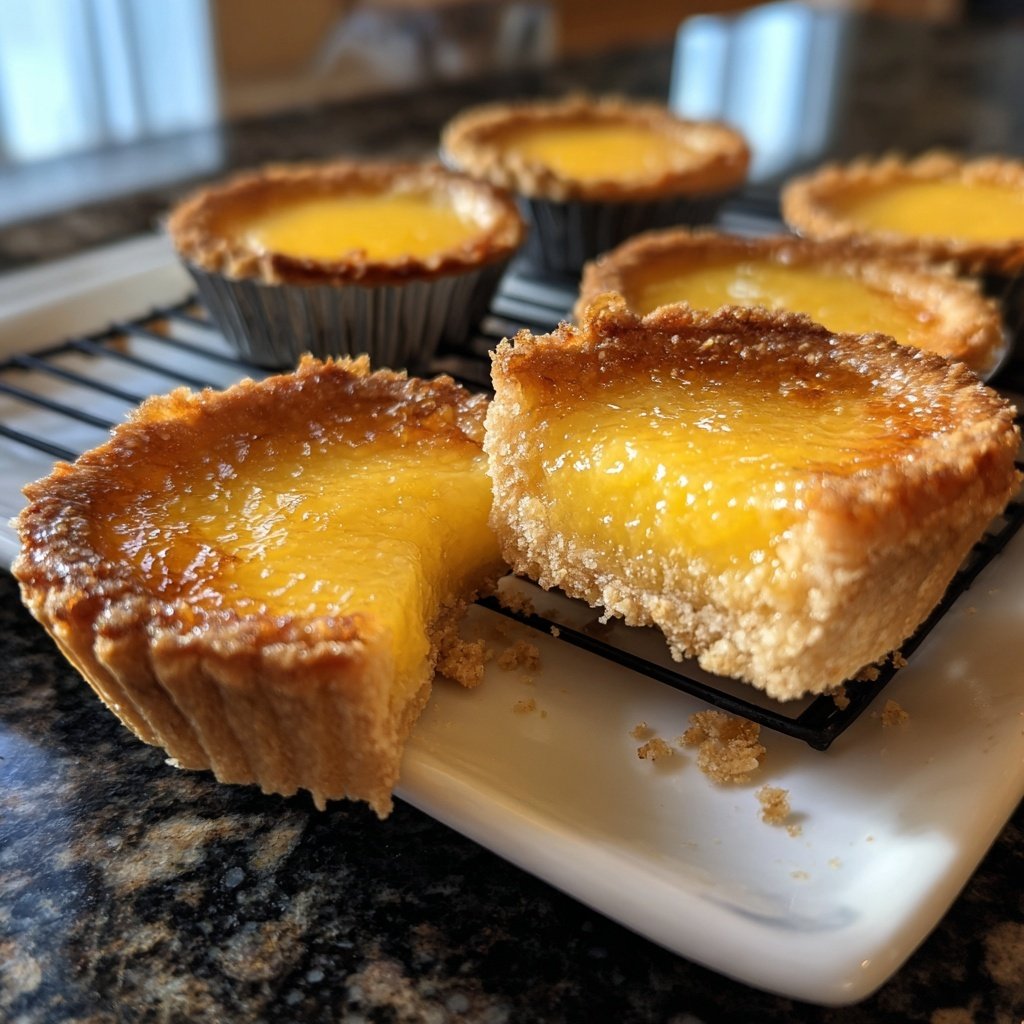
I absolutely adore these mini lemon tarts, especially for Valentine's Day. The zesty lemon filling paired with a buttery crust creates a delightful balance of flavors that's perfect for sharing with loved ones. Each bite is a burst of sunshine, and they’re surprisingly easy to make. I love how they can also be dressed up with fresh berries or a dollop of whipped cream to add a personal touch. These tarts are not only a treat for the taste buds but also for the eyes, making them the ideal dessert for any romantic occasion.
Making these mini lemon tarts was an exciting journey for me. I experimented with different crust recipes before settling on a classic shortcrust that perfectly complements the tangy lemon filling. I found that chilling the dough helps it hold its shape beautifully during baking, resulting in a uniform texture that's golden and crispy.
What truly elevates these tarts is the zest I incorporate into the filling; it enhances the lemon flavor significantly, making each tart irresistible. I like to garnish them with a sprinkle of powdered sugar and a few fresh berries for that added pop of color and sweetness!
Why You Will Love This Dessert
- Bright and zesty lemon flavor that cuts through richness
- Buttery tart crust that perfectly contrasts the filling
- Beautifully presented for a romantic dessert experience
Crafting the Perfect Tart Crust
Creating a flaky and buttery tart crust is essential for these mini lemon tarts. The cold butter is key; it needs to be cubed and kept cold to ensure that the crust becomes light and airy during baking. If you find the dough overly sticky while mixing, you can sprinkle in an extra tablespoon of flour to achieve the right consistency. Additionally, don’t overwork the dough, as this can lead to a tough texture. Aim for a crumbly mix before adding the egg yolk and ice water.
When rolling out the chilled dough, I recommend using a light dusting of flour on your surface to prevent sticking. A rolling pin with measurements can help you achieve even thickness, ensuring that the tarts bake uniformly. Cut the dough rounds slightly larger than your tart pan to create an edge for crimping. After baking, the crust should have a light golden color, which indicates that it's ready to hold your zesty filling.
Crafting the Zesty Lemon Filling
The lemon filling is the star of this dessert, so using fresh lemons is crucial. The zest adds a vibrant flavor that enhances the overall tartness, while the juice provides the tang that balances the sweetness from the sugar. Make sure to strain the lemon juice to remove any seeds or pulp, which will result in a smoother filling. I always taste the mixture before pouring it into the crust, allowing me to adjust the sweetness if needed—the goal is a balanced flavor without overwhelming tartness.
The heavy cream in the filling creates a velvety texture that contrasts beautifully with the crunchy tart crust. To ensure the filling sets properly, avoid over-baking; you’ll want it to be just barely set in the center when pulling it out of the oven. A gentle jiggle should remain, indicating a creamy consistency that will firm up as it cools. If you prefer a denser filling, consider reducing the amount of heavy cream slightly without compromising the overall balance.
Serving and Storage Tips
These mini lemon tarts are incredibly versatile when it comes to serving suggestions. For a festive touch, top each tart with a few fresh berries or a dusting of edible gold flakes before serving. A dollop of freshly whipped cream can also elevate the dessert, adding a rich, creamy component that complements the tangy lemon filling beautifully. Make sure to serve them chilled, as this enhances their refreshing qualities, perfect for a romantic dessert after a hearty meal.
If you have leftovers, these tarts can be stored in the refrigerator for up to three days, sealed in an airtight container to maintain their freshness. They are best enjoyed within the first day or two for optimal texture. If you plan to prepare them in advance, consider making the crusts a day prior and refrigerating them. Fill them with lemon filling just before serving to avoid a soggy crust. Alternatively, you can freeze unbaked tart shells for up to a month; just bake them fresh when you’re ready to fill and serve.
Ingredients
Ingredients
For the tart crust
- 1 1/2 cups all-purpose flour
- 1/2 cup unsalted butter, cold and cubed
- 1/4 cup powdered sugar
- 1/4 teaspoon salt
- 1 egg yolk
- 2-3 tablespoons ice water
For the lemon filling
- 1 cup granulated sugar
- 3 large eggs
- 1/2 cup freshly squeezed lemon juice
- Zest of 2 lemons
- 1/2 cup heavy cream
Instructions
Instructions
Make the tart crust
In a mixing bowl, combine flour, powdered sugar, and salt. Cut in the cold butter until the mixture resembles coarse crumbs. Stir in the egg yolk and add ice water one tablespoon at a time until the dough comes together. Press the dough into a disc, wrap it in plastic, and refrigerate for 30 minutes.
Pre-bake the tart shells
Preheat the oven to 350°F (175°C). Roll out the chilled dough and cut into rounds to fit a mini tart pan. Place the dough in the pan, prick the bottoms with a fork, and bake for 15 minutes or until lightly golden. Let cool.
Prepare the lemon filling
In a mixing bowl, whisk together the granulated sugar and eggs until smooth. Stir in the lemon juice, zest, and heavy cream until well combined.
Fill and bake the tarts
Pour the lemon filling into the cooled tart shells, filling them about 3/4 full. Bake for an additional 10-15 minutes until the filling is set. Remove from the oven and let cool before serving.
Pro Tips
- For an even pop of flavor, consider adding a teaspoon of vanilla extract to your lemon filling. You can also serve these tarts chilled for a refreshing summer treat!
Ingredient Substitutions
If you're in need of a gluten-free option for the tart crust, using a gluten-free all-purpose flour blend can work well as a substitution. Just ensure the blend includes a binding agent, like xanthan gum, to mimic the structure of traditional flour. For a touch of nuttiness, consider swapping half the all-purpose flour with ground almond flour. This will add depth to flavor without compromising the crust's integrity and texture.
For those looking to reduce sugar in the filling, natural sweeteners like honey or maple syrup can be used, though be mindful that they may alter the overall flavor profile. You could also use a sugar substitute suitable for baking, remembering to account for any conversion recommendations provided by the manufacturer when adjusting the recipe.
Scaling the Recipe
This mini tart recipe is easily scalable if you're planning for a larger gathering or a special occasion. To double the recipe, maintain the same ratios of ingredients. However, make sure your mixing bowl is large enough to accommodate the increased volume, and if using multiple tart pans, an assembly line approach can help streamline the process. Consider making a larger tart in a standard size tart pan as an alternative.
If you're looking to make a smaller batch, cutting the recipe in half is just as simple. Ensure you have mini tart pans or muffin tins handy for uniform baking. Remember to adjust baking times slightly, as smaller tarts typically cook a bit quicker. Always keep a close eye on them as they near the end of the baking time to avoid overcooking.
Questions About Recipes
→ Can I make the tart crust ahead of time?
Yes, you can prepare the tart crust a day in advance. Just store it wrapped in plastic in the refrigerator until you're ready to use it.
→ What can I substitute for fresh lemon juice?
You can use bottled lemon juice, but the flavor may not be as vibrant. Fresh lemons are always recommended for the best taste.
→ Can I freeze these tarts?
Yes, you can freeze the baked tarts without the filling. Wrap them tightly in plastic wrap and store them in an airtight container.
→ How do I know when the filling is set?
The filling should be slightly jiggly in the center but firm to the touch. It will continue to set as it cools.
Valentines Treats Mini Lemon Tarts
What You'll Need
For the tart crust
- 1 1/2 cups all-purpose flour
- 1/2 cup unsalted butter, cold and cubed
- 1/4 cup powdered sugar
- 1/4 teaspoon salt
- 1 egg yolk
- 2-3 tablespoons ice water
For the lemon filling
- 1 cup granulated sugar
- 3 large eggs
- 1/2 cup freshly squeezed lemon juice
- Zest of 2 lemons
- 1/2 cup heavy cream
How-To Steps
In a mixing bowl, combine flour, powdered sugar, and salt. Cut in the cold butter until the mixture resembles coarse crumbs. Stir in the egg yolk and add ice water one tablespoon at a time until the dough comes together. Press the dough into a disc, wrap it in plastic, and refrigerate for 30 minutes.
Preheat the oven to 350°F (175°C). Roll out the chilled dough and cut into rounds to fit a mini tart pan. Place the dough in the pan, prick the bottoms with a fork, and bake for 15 minutes or until lightly golden. Let cool.
In a mixing bowl, whisk together the granulated sugar and eggs until smooth. Stir in the lemon juice, zest, and heavy cream until well combined.
Pour the lemon filling into the cooled tart shells, filling them about 3/4 full. Bake for an additional 10-15 minutes until the filling is set. Remove from the oven and let cool before serving.
Extra Tips
- For an even pop of flavor, consider adding a teaspoon of vanilla extract to your lemon filling. You can also serve these tarts chilled for a refreshing summer treat!
Nutritional Breakdown (Per Serving)
- Calories: 180 kcal
- Total Fat: 12g
- Saturated Fat: 7g
- Cholesterol: 85mg
- Sodium: 55mg
- Total Carbohydrates: 16g
- Dietary Fiber: 1g
- Sugars: 8g
- Protein: 2g